

Shelf Crit: Hunter X Target Backpack
Shelf Crit: Hunter X Target Backpack
fixing fatal flaws from feckless factory fashion, for fun

Note: I am still figuring out ways to format posts here, so this post will have a paywall break after the article. A detailed breakdown of the project will be on the other side of the break.
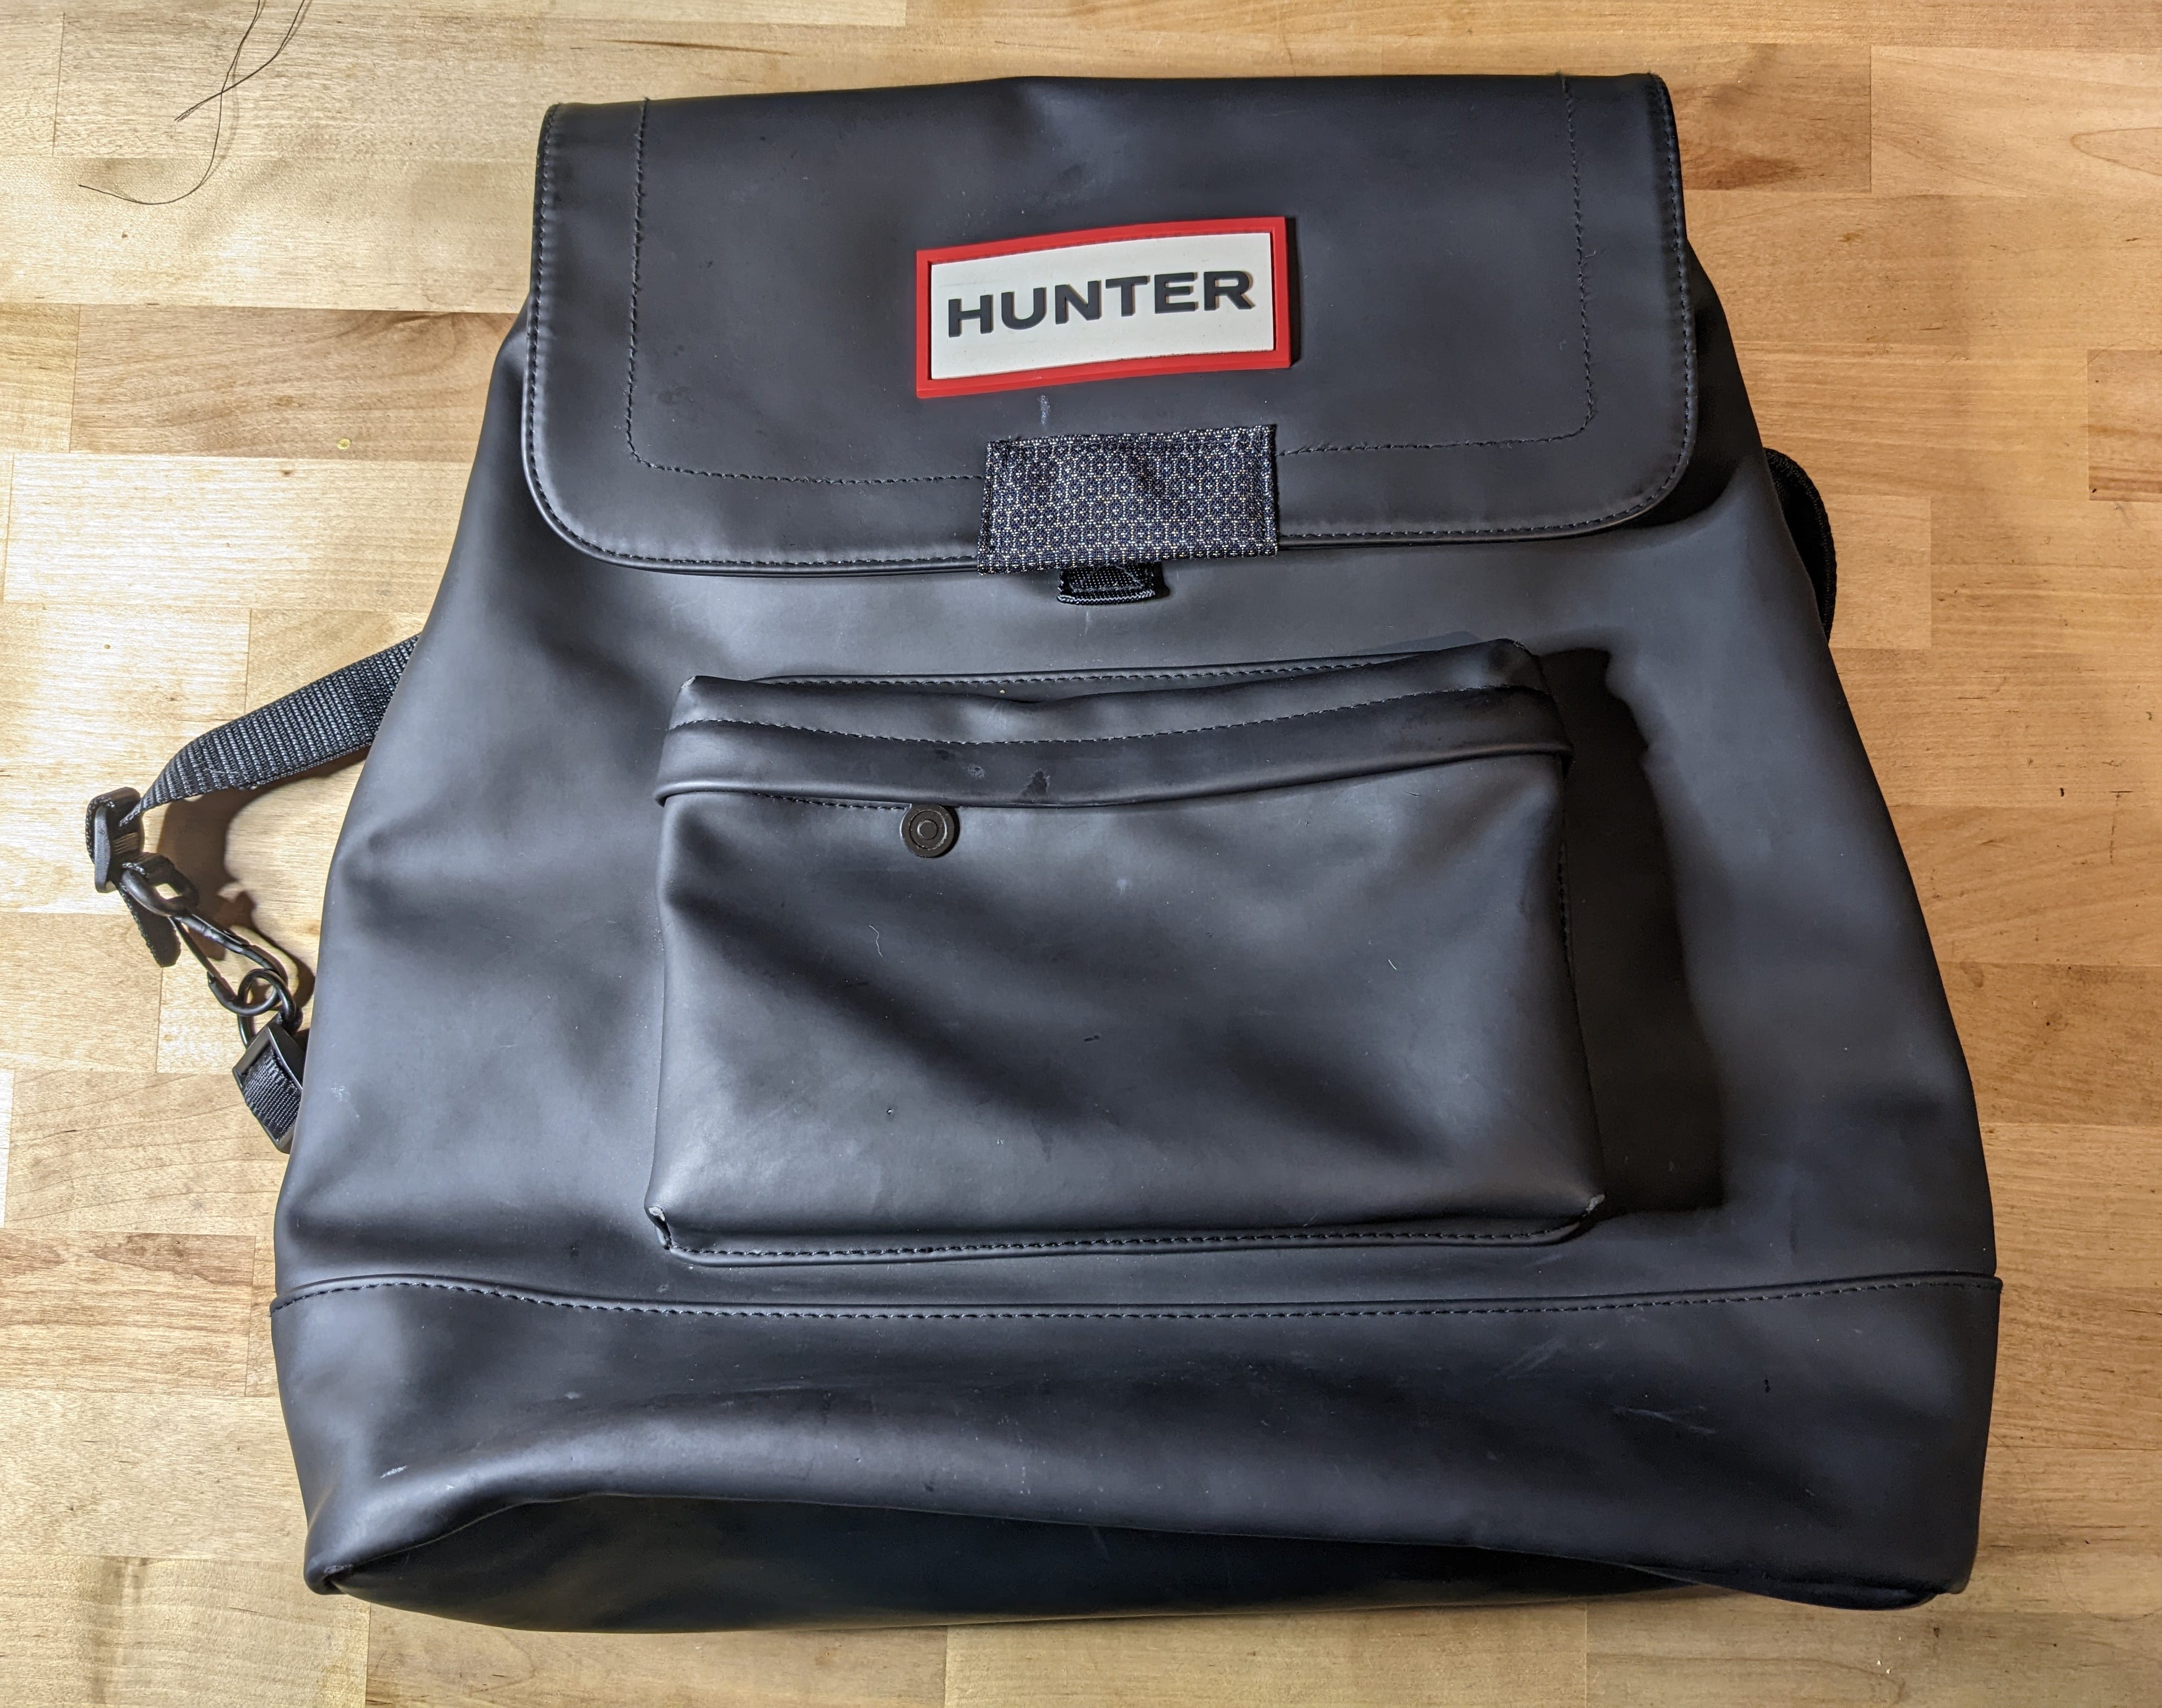
I recently found a backpack from the Hunter X Target brand collaboration at a junk shop with a damaged shoulder strap. I had heard good things from friends who enjoyed pieces from this collaboration, so I figured I could take a look and see if the bag might make a nice Christmas gift for someone once repaired.
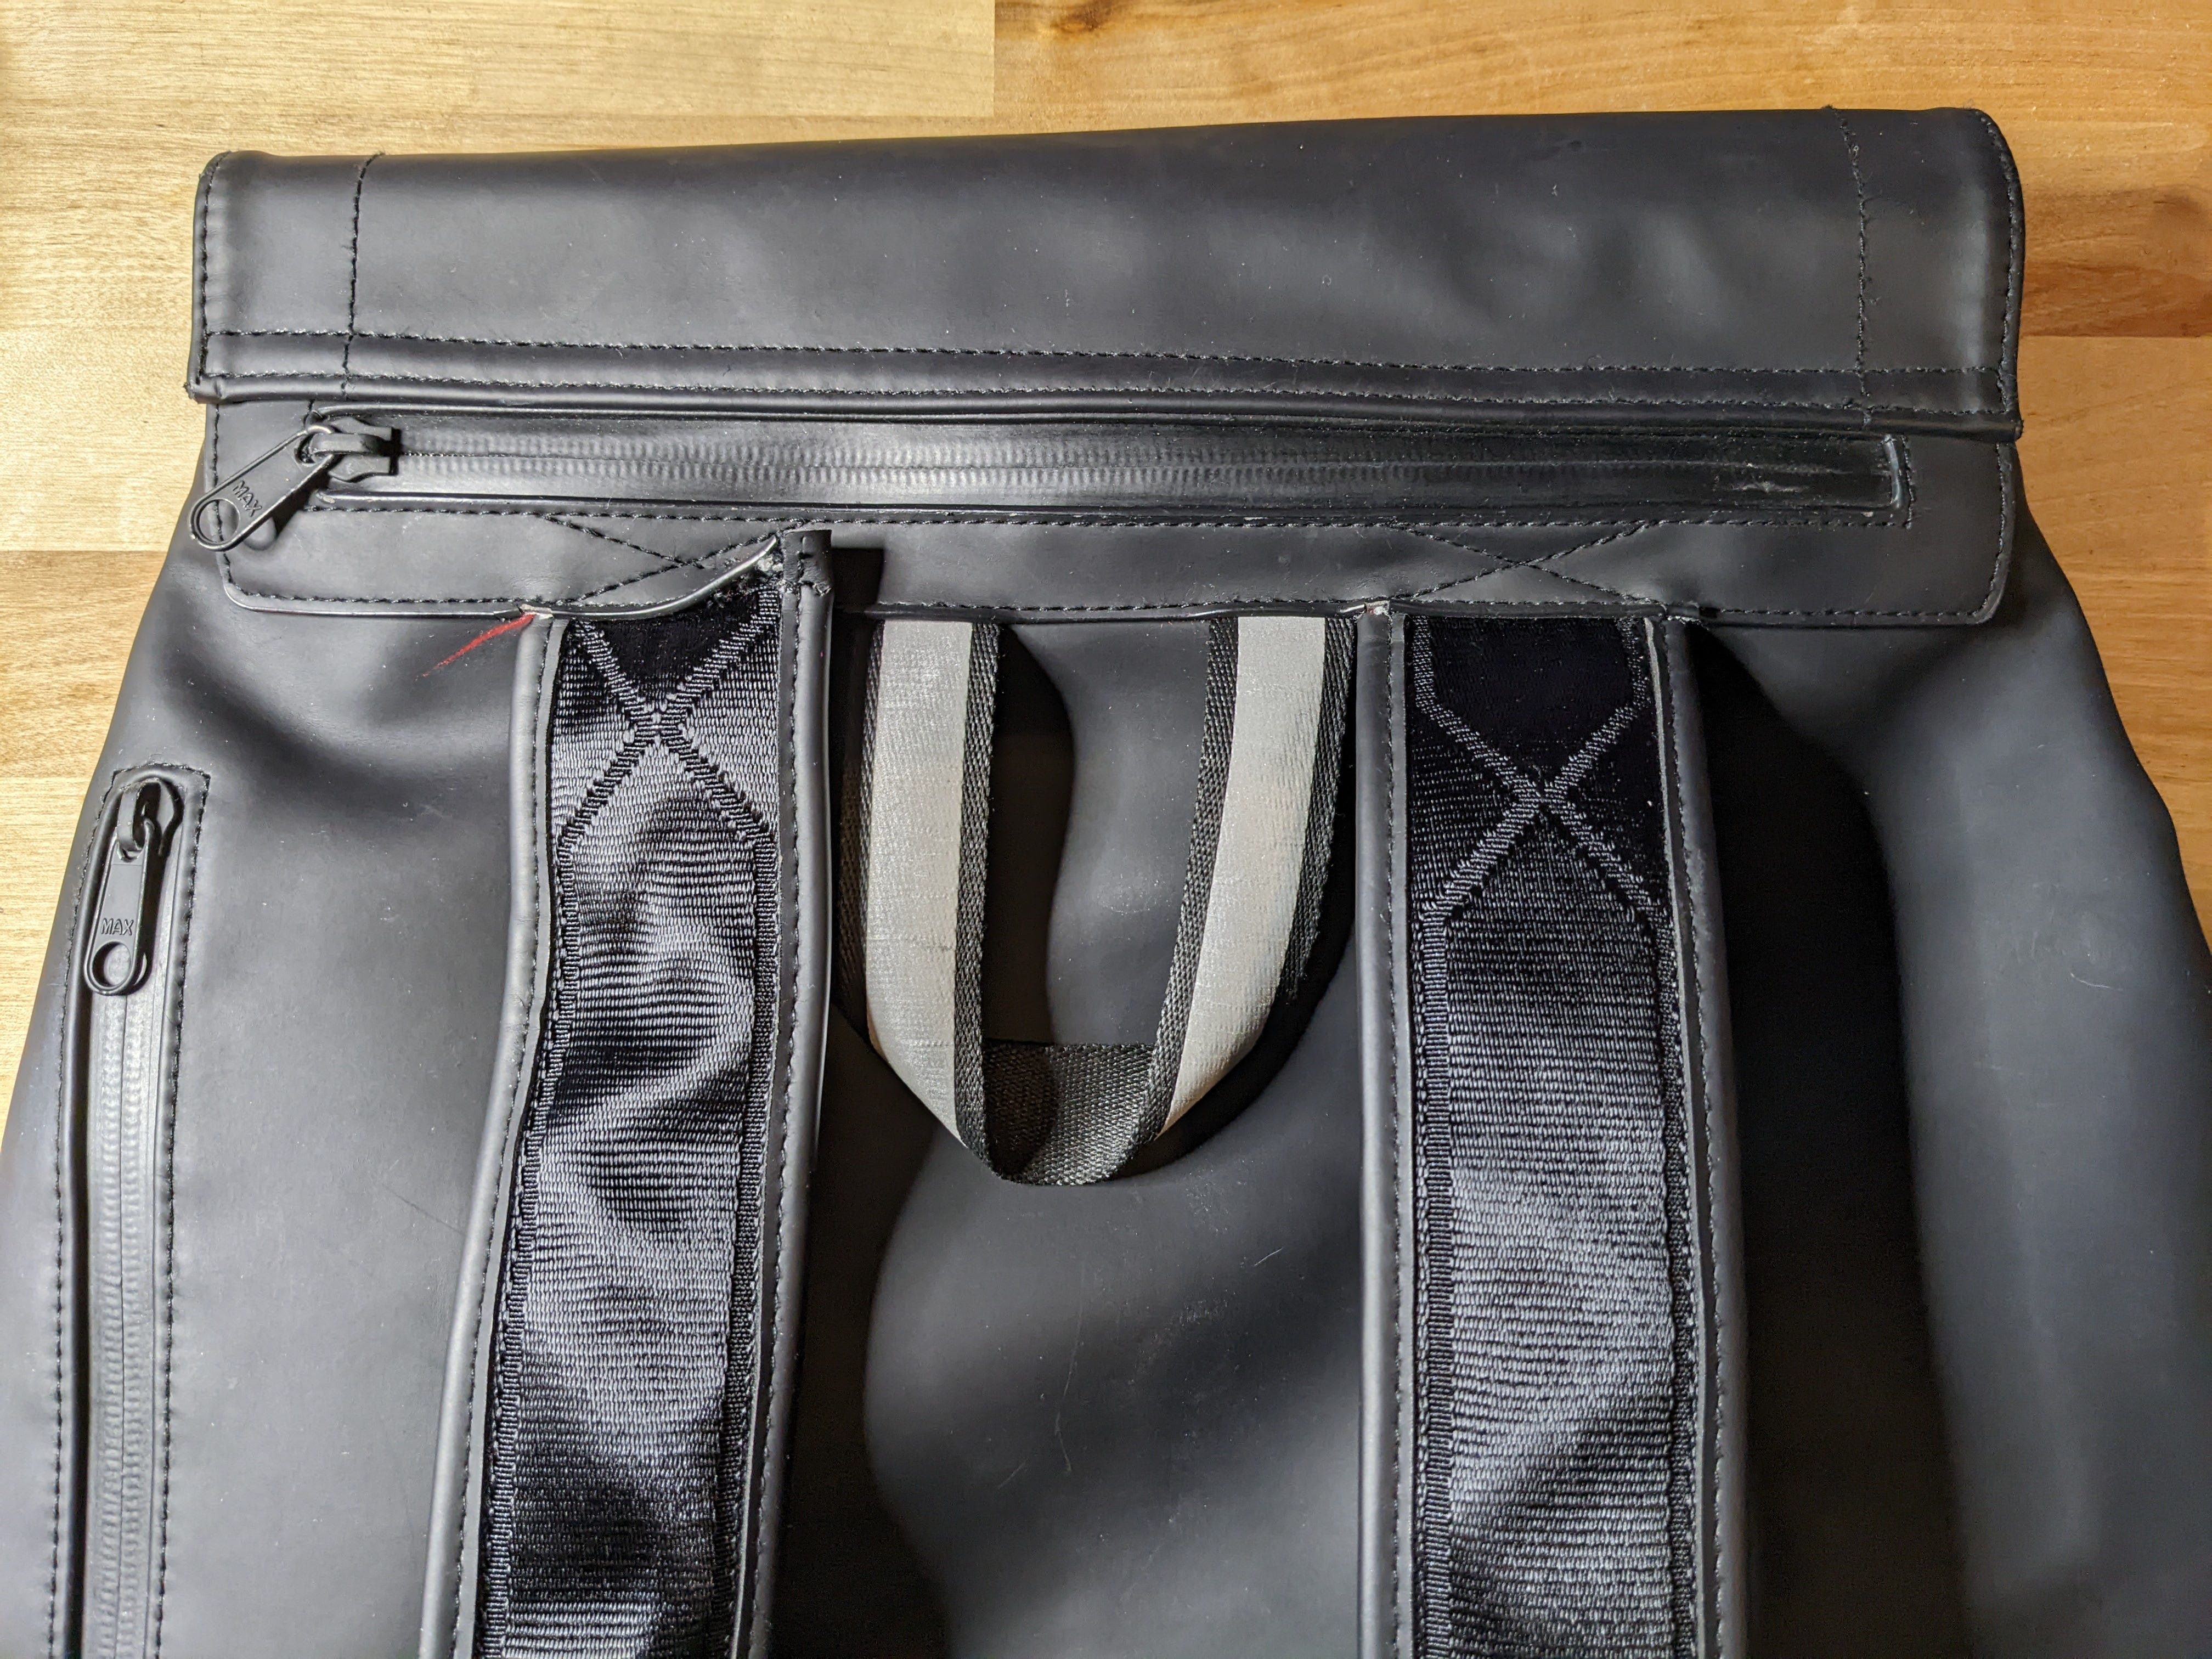
The image above shows the back of the bag, with the shoulder straps terminating into the lower edge of the seam where the bag’s lid panel attaches. This panel is also the opening for a stash pocket which will complicate the repair, but I do not think this pocket is part of the design mistake I would like to critique today.
That the straps would terminate into a seam is not a problem. When done well, the overall surface area covered by the seam would increase the overall strength of the joint where the strap meets the bag. The problem in this case is that the straps are rigid enough at that joint that when worn, they place force directly against the sewn seam from inside the seam. Eventually, this force weakened the material sewn over the end of the strap, tearing the material as you can see in the photo.
Zoom in or squint kind of hard and you will also notice that the exposed end of the strap in the above photo is only a long enough to extend a few millimeters past the seam. This also isn’t itself a negative, though in practice here it means there is no material extending past the seam to provide support. When the strap is pulled up, it ends up essentially working as a fulcrum, with the end of the strap forming a base point behind the seam’s stitching, which moves much much more of the “load” of the strap’s movement directly onto the two single lines of stitching binding the lid, strap, and bag together.
One way this could have been mitigated is if the last couple inches of the straps did not have the mesh spacer padding most of the strap is made of, and instead met the bag as a flexible fabric that would move freely without imparting force between layers of the seam. In this case, that approach would not work here because of the pocket under the lid panel (see, I said that would complicate things later) and because the original material had torn, and I am not super confident in my vinyl fixing abilities if I am honest.
Here’s what I came up with:
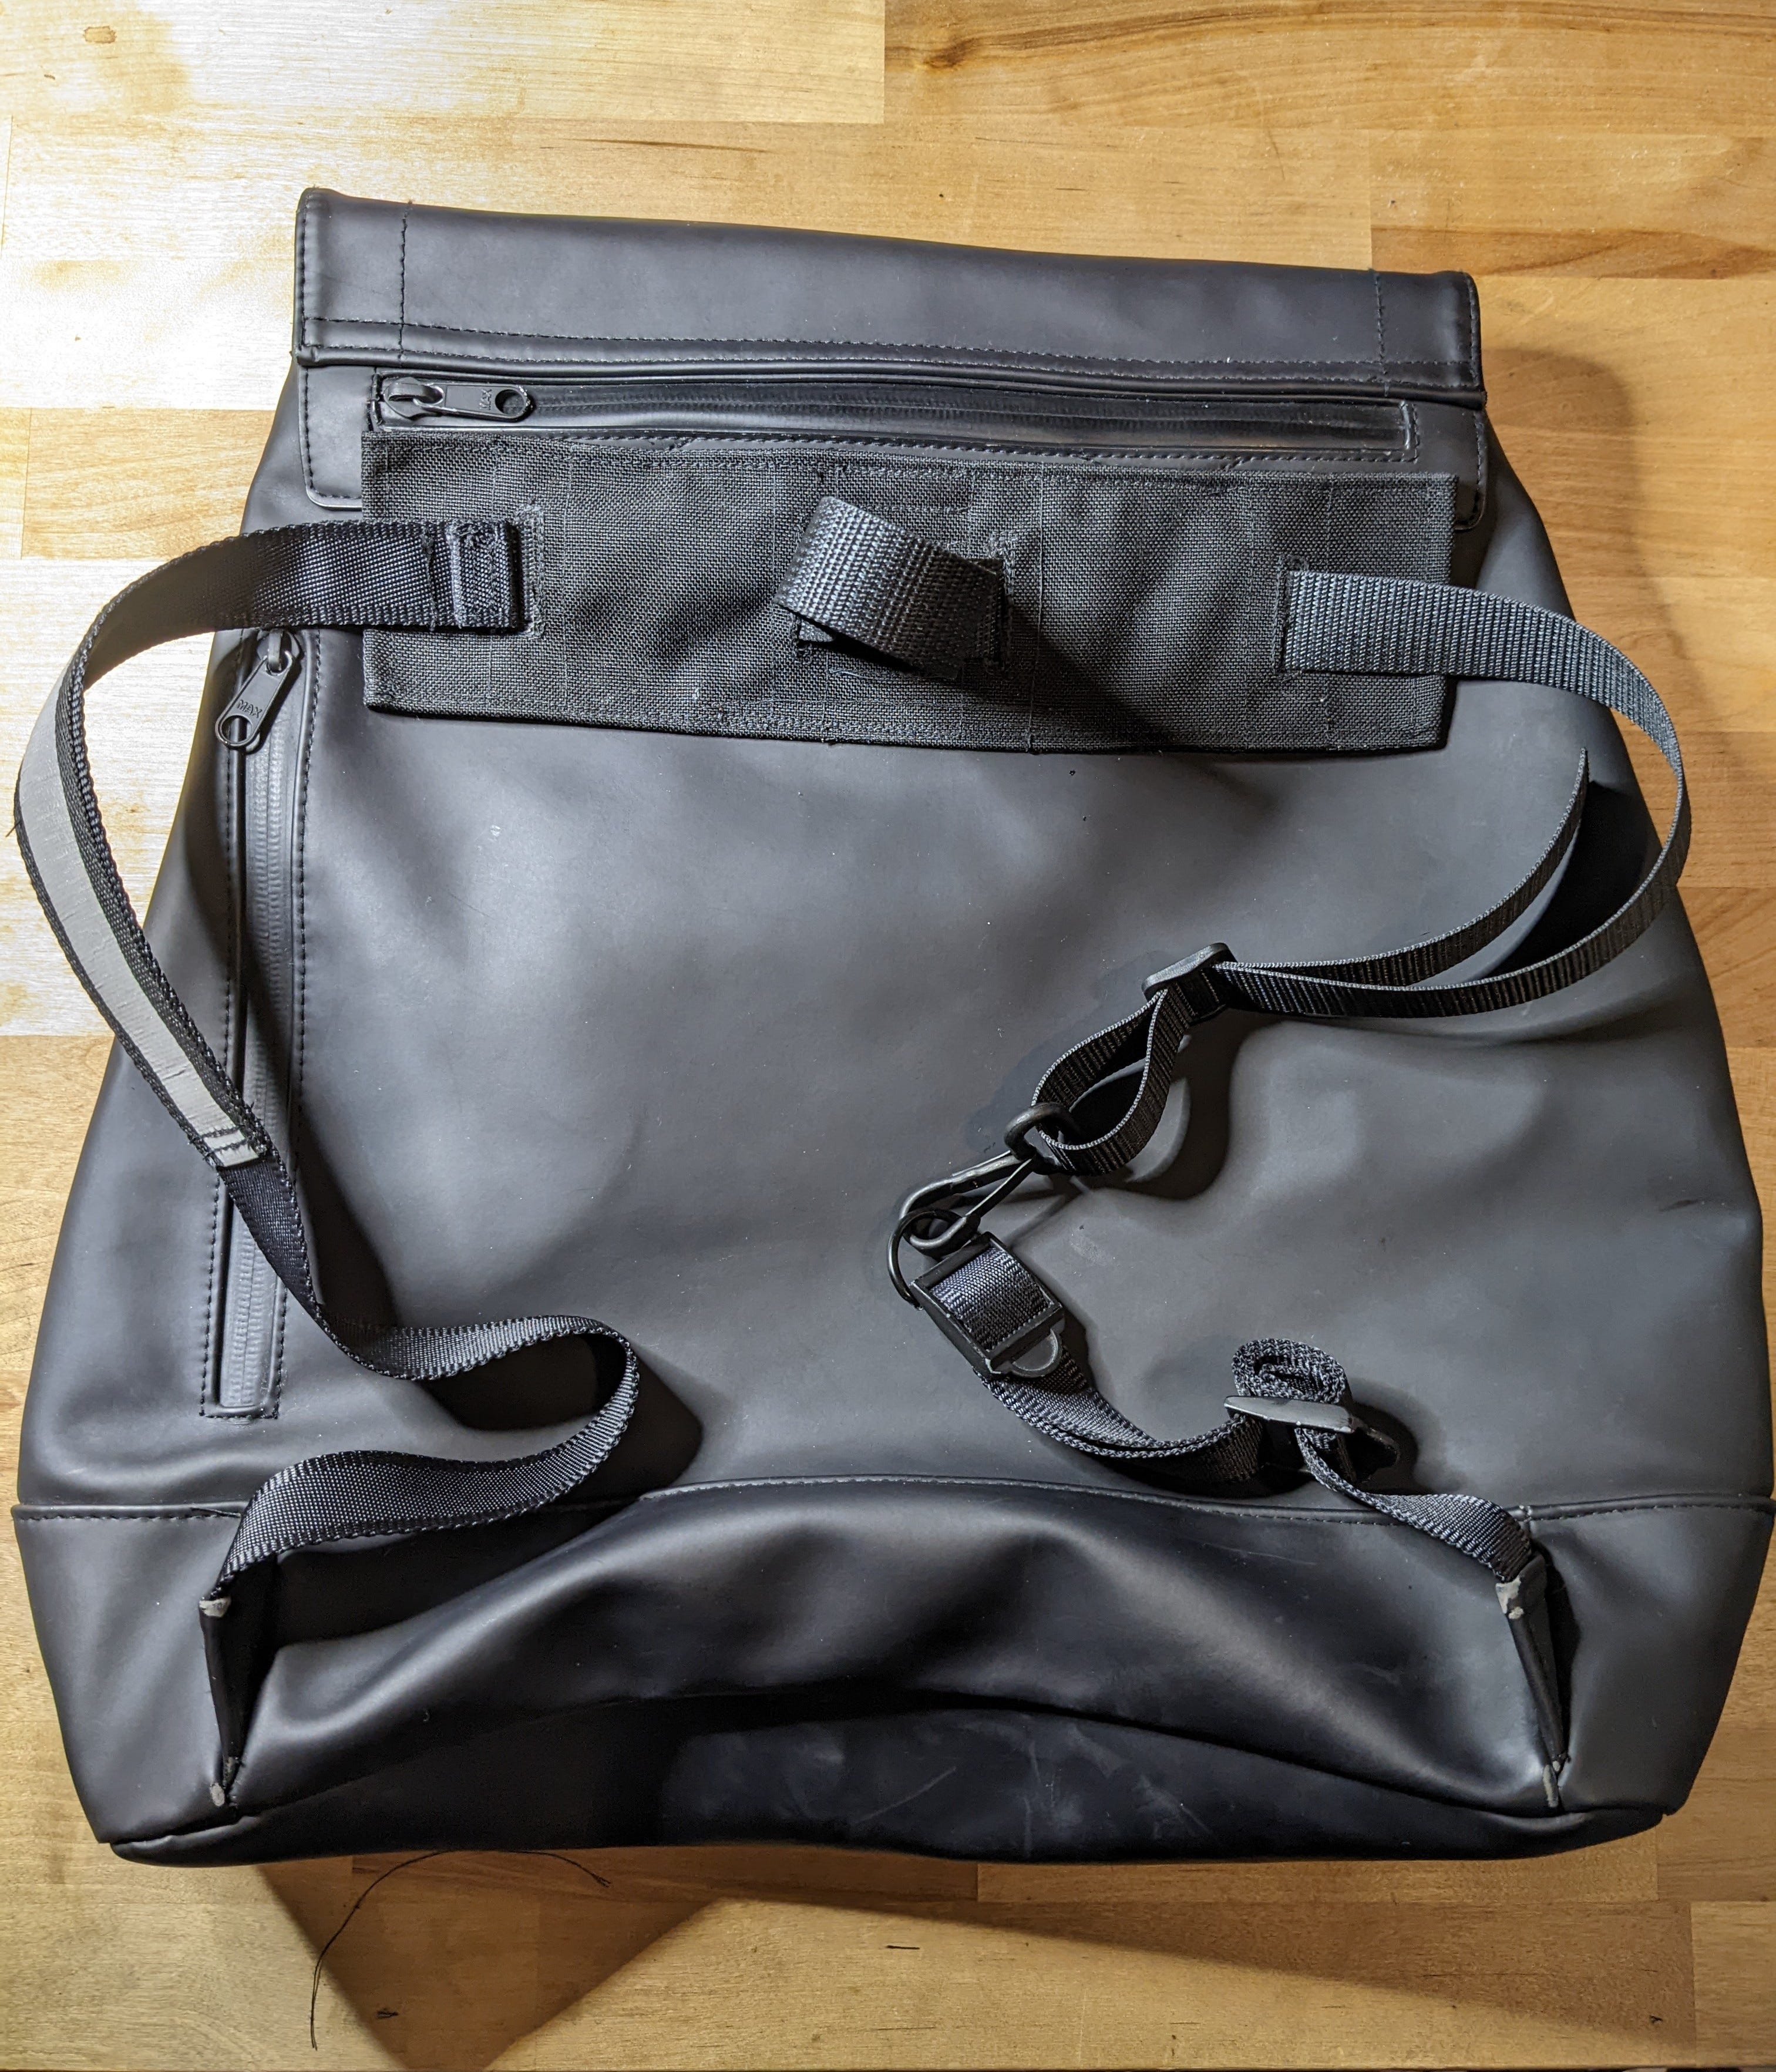
What I decided to go with is a new panel of material sewn to the outside of the bag (into the outer layer of that pocket) in a sort of upside-down trapezoid shape. The remaining area of the panel I could not reach with my current sewing machine, so I carefully masked off the back of the bag and glued the edges down, being careful not to glue down the center of the panel.
Through the center of the panel I cut holes for a webbing channel. To make use of this I kept the original lower straps (the long webbing ends that let you adjust the straps). I extended the strap of the right-hand side (left when looking at the back of the bag) with a combination of a couple feet of a strong polypropylene webbing and the original, reflective grab handle that I removed with the original straps. The left-hand side became a two-piece for quick release. The top of the strap would be the end of the extention from the right-hand side, passed through the webbing channel, and with a metal snap hook at the end. The snap hook would clip to a D-ring held by the original webbing ends on that side. The original ladder-lock buckles from the discarded straps are in use here to secure the extra webbing so it doesnt tangle and snag.
The small loop of webbing visible in the middle of the photo above is the strap as it passes through the webbing channel. Normally this part of the strap lays flat, but it can also be pulled up from the center to be used as a grab or hanging handle. I intentionally shaped points of webbing to act as “stays” (one of the two was added after taking the above photo) so that this handle will stop at a specific point. The bag has been hanging from a doorknob in my apartment for a couple days and it seems (so far) like these features will hold!
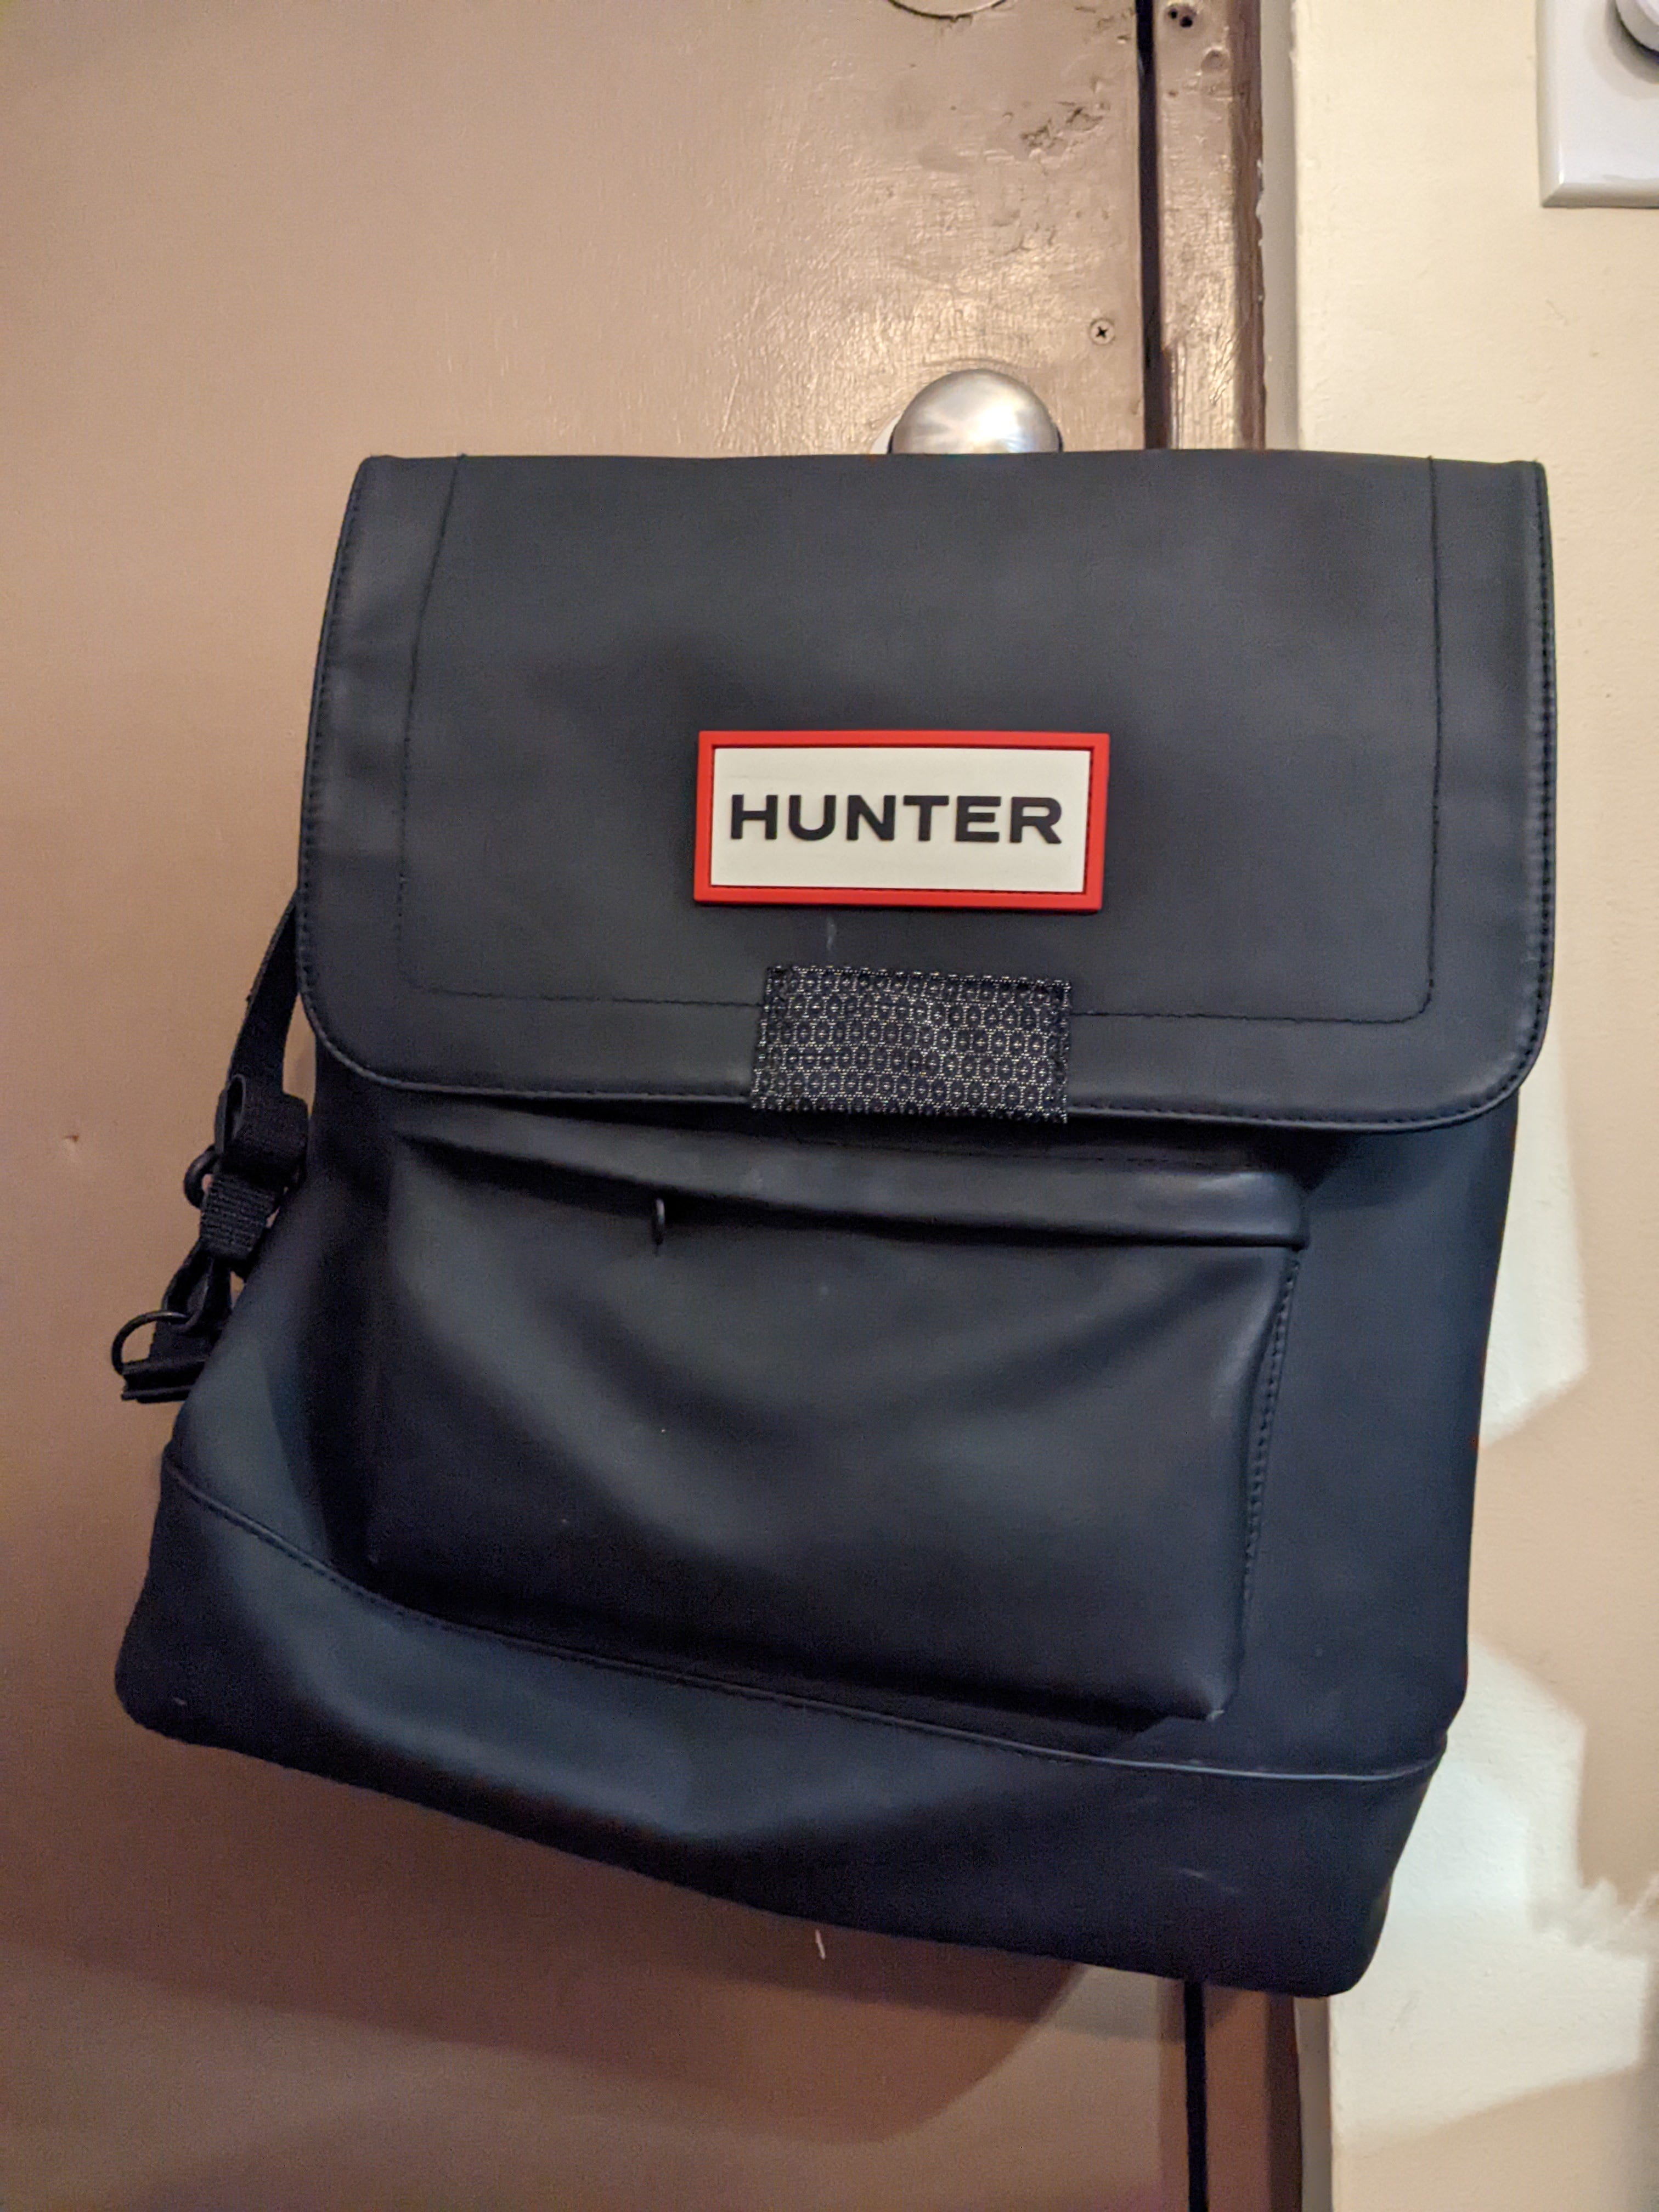
As a final touch, I “signed” my work with a piece of fabric you may recognize from other projects. I decided to operate by graffiti rules for these projects, which means diligently preserving the work and credit for it that came before you, unless you are making a point about a specific other artist. In this spirit I placed my signature panel over the most prominent of Target’s logos (their logo zipper pulls are still a perfectly nice feature) since I had to fix a fatal design flaw in this product for them.
This bag will definitely be making a nice Christmas gift for someone.
Thank you for reading! That’s the article, but if youd like to subscribe and stick around theres a gallery of project photos as well as sidenotes and little details on the other side of the break!